An increasing number of people are getting accustomed to non-alcoholic beer, however, it is still a little difficult to find in social settings. Fortunately, you can learn how to brew non-alcoholic beer yourself because this process is very similar to brewing beer, with a few additional steps.
Once you feel like you’re comfortable with the following process, you can give it a go and brew up your own variety of non-alcoholic beer:
What You’ll Need
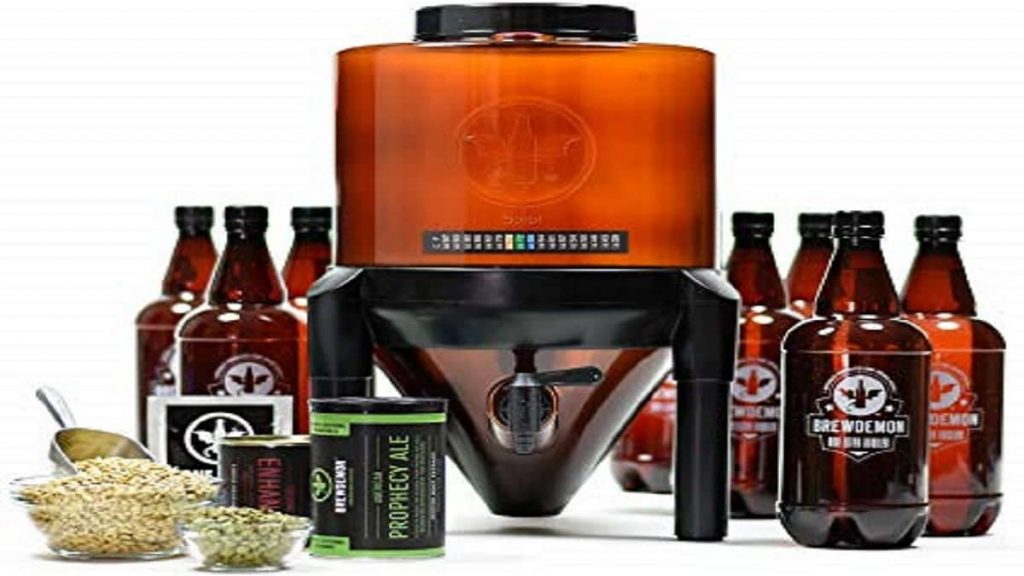
Ideally, you will be required to refer to your beer recipe to determine what you need, but the following is a list of tools and equipment required to make most categories of beer:
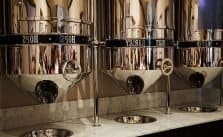
- A boiling pot (around 8L in volume for a 4.5L batch)
- Peeler or zester
- Grater or blender
- Non-rinse sanitizer
- Kitchen scales
- Thermometer
- Funnel
- Fermenter and airlock
- Empty bottles and caps
- Strainer
1. Look Up Non-Bitter-Tasting Beer Recipes (E.g. Red Ale or Wheat Beer)
Whenever you’re brewing non-alcoholic beer, all you need to do is burn up the alcohol and you’re pretty much done. In doing so, your homemade beer will taste very bitter, but this can be reversed by choosing non-bitter-tasting beer recipes.
Never use recipes like pale ale, because they are already quite bitter to begin with. We can’t image what level of bitterness the non-alcoholic version of such beverages will surmount to.
2. Make Sure the Wort Consists of Dextrins and Not Simple Sugars
Dextrins are the name given to unfermentable sugars, and when it comes to non-alcoholic beer, the more you get the better it tastes. Dextrins are the only way of making full-bodied beer with lesser alcohol content. Oh and if you’re worried about too much sweetness, just wait till your final brew is ready.
Make sure you avoid recipes that include simple sugars such as maltose or glucose. In addition, if you are going to be using an extract brewer, only choose recipes that don’t make use of corn sugar.
3. Reduce the Amount of Hops By Half
Hops are one of the things that are meant to give beer their bitter taste. However, when you heat up beer to remove its alcoholic content, you will just make it taste a lot more bitter. By reducing the amount of hops by half, you will be able to cut down its bitterness until it is just perfect.
For instance, if the recipe you picked out calls for two ounces of hops (48g), then you should use only one ounce instead (24g). Also, if you wish to increase your non-alcoholic beer’s hoppy flavor without actually overpowering its taste, you can try using hops that consist of low alpha acids.
4. Sanitize Your Tools and Equipment
We’re talking about measuring equipment, spoons, bottles and everything else that you believe will come in contact with the ingredients and beer. Now go ahead and clean your equipment using only fragrance-free and mild detergent. After doing so, you should also disinfect these tools and equipment with a sanitation solution which is pre-approved for brewing purposes.
Don’t use towels to dry your equipment because these may reintroduce bacteria into them. Also, if you don’t have access to sanitation solutions or disinfectants, you can get the same results by dipping everything in boiling water.
5. Start Brewing According to the Recipe
How you brew your beer will depend on what recipe you’re following and what kind of equipment you have access to. Each brewing kit and recipe combination is unique and, therefore, you should make sure that you read each instruction carefully.
Every non-alcoholic beer recipe starts like regular beer and the only changes you should make in the recipe will be in the earlier steps, such as the types or amount of hops.
6. Let the Beer Ferment (Wait 1 – 2 Days)
Consult your beer recipe to determine how long your beer requires to ferment (typically up to 2 weeks). Now add 1 or 2 extra days to whatever the recipe says because this will allow the solids in the brew to settle at the bottom. This, in turn, will make the siphoning process a lot easier.
7. Siphon Off the Beer You Want to Make Non-Alcoholic
This could mean a quarter of your entire batch or perhaps even the whole batch. In either case, it will be advisable to siphon off a little more than you need. You see, it is common practice to lose about 4 to 6 ounces (approximately 120 to 180 mL) of the brew in the process of making each gallon (3.8 L), because of the heat required in the process.
Try to consider adding an extra 4 to 6 ounces of water into the beer once you have siphoned it out. This will equalize the amount of liquid lost without sacrificing body or flavor. Also, if you are going to remove alcohol from a portion of your brew, then pour that portion into a sterilized pot and let the rest remain inside the fermenter.
8. Pour Beer Into a Container and Heat It Up To 180°F
Preheat the oven so that it reaches 180°F and then pour the brew into a brewing kettle or some enameled/stainless steel pot. Once your oven is at the right temperature, place your choice of container inside. If your oven can’t work with these temperatures, you can also use your stove and place a cooking thermometer in your brew.
9. Stir the Beer Occasionally While It’s Heating (for 20 – 30 minutes)
Now let your beer heat for an additional 20 to 30 minutes while you stir it occasionally. You see, the longer your brew cooks, the more alcohol will evaporate from it. For this reason, people who wish to brew up low-alcohol content beer also follow the same process with slight adjustments to the heating time.
10. Let It Cool and Taste for Traces of Alcohol
Once your brew has cooled down a little, dip a teaspoon into its container and give it a taste. If you can clearly taste alcohol, then let it cook an additional 10 – 15 minutes. Granted, the beer won’t taste as good as you imagined, but it’s all going to come together in the next step.
11. Cover the Container and Place It Into an Ice Bath
Fill up a sink with cold water and also load up some ice cubes in the mix to create an ice bath. Next, set your brewing container into the sink and make sure the ice is at the same level as the brew inside. Some people also choose to cover the pot so as to avoid making mistakes.
Now let your beer sit here for about 2 hours until the container has reached approximately 80°F. Now go ahead and give your chilled non-alcoholic (insert name here) beer a taste.
Not bad for a home brew, right?
Our Final Thoughts
Most non-alcoholic beer drinkers prefer their beverage as a carbonated and bottled drink. If this is something you’ve been longing for as well, all you need to do is add 95g to 142g or priming sugar to a container and add 2 cups of boiling water. The resultant liquid can be added directly into your brew when it cools down.
Next, you should also add activated yeast into your brew by first dissolving it into ½ a cup of warm water. Alternatively, you could also wait 20 minutes by placing a plate over the cup and letting the yeast build up. With this cup poured into your brew, all you need to do now is pour your non-alcoholic beer (with a filter) into sanitized bottles
Voila, you have finally learned how to brew non-alcoholic beer!

